Scratches, cracks, dirt deposits, undesired roughness, burrs, welded joint defects – visual inspection can rule out all of these, and more.
Generally, around 80% of conceivable production errors can be identified solely via visual inspection. That’s why, in most cases, it is the first and most cost-efficient step in non-destructive material testing.
It’s all about quality assurance: Manufacturing companies can’t afford any blunders when it comes to their orders. Any major complaints can cause significant economic and contractual problems for a company, not to mention the damage to their reputation, both on the market and among their clients.
Trust in our company’s high quality standards and straightforward processes and find out how visual inspections and other material tests can make complaints and their associated contract risks a thing of the past.
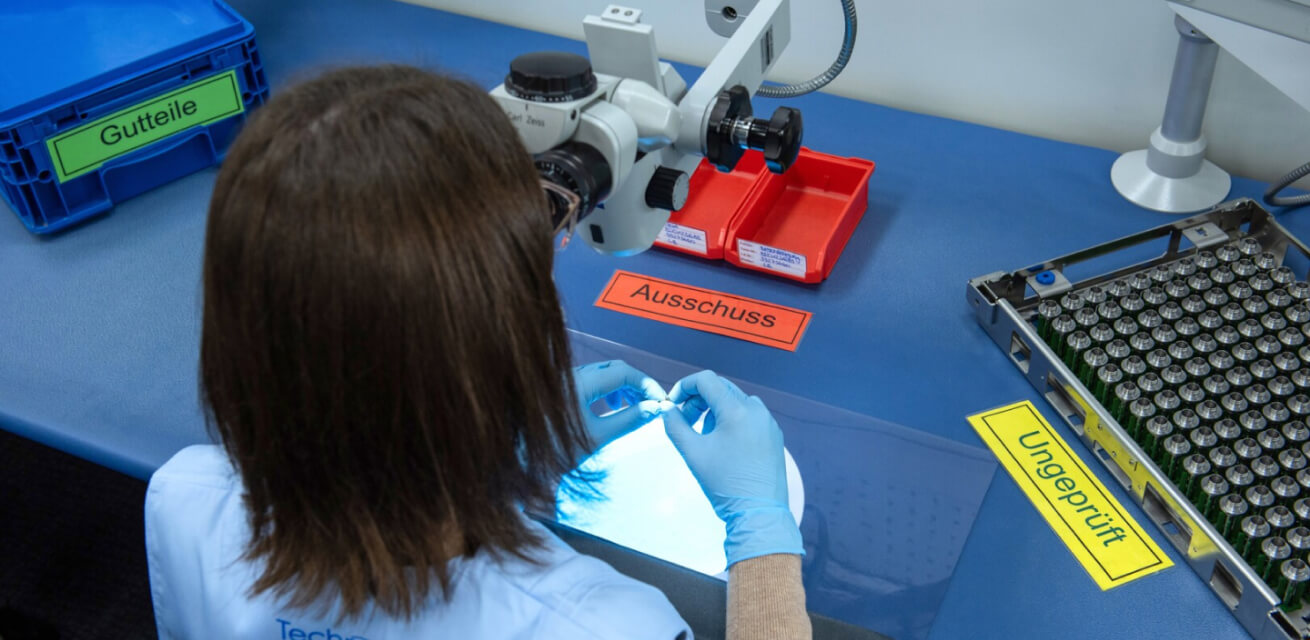
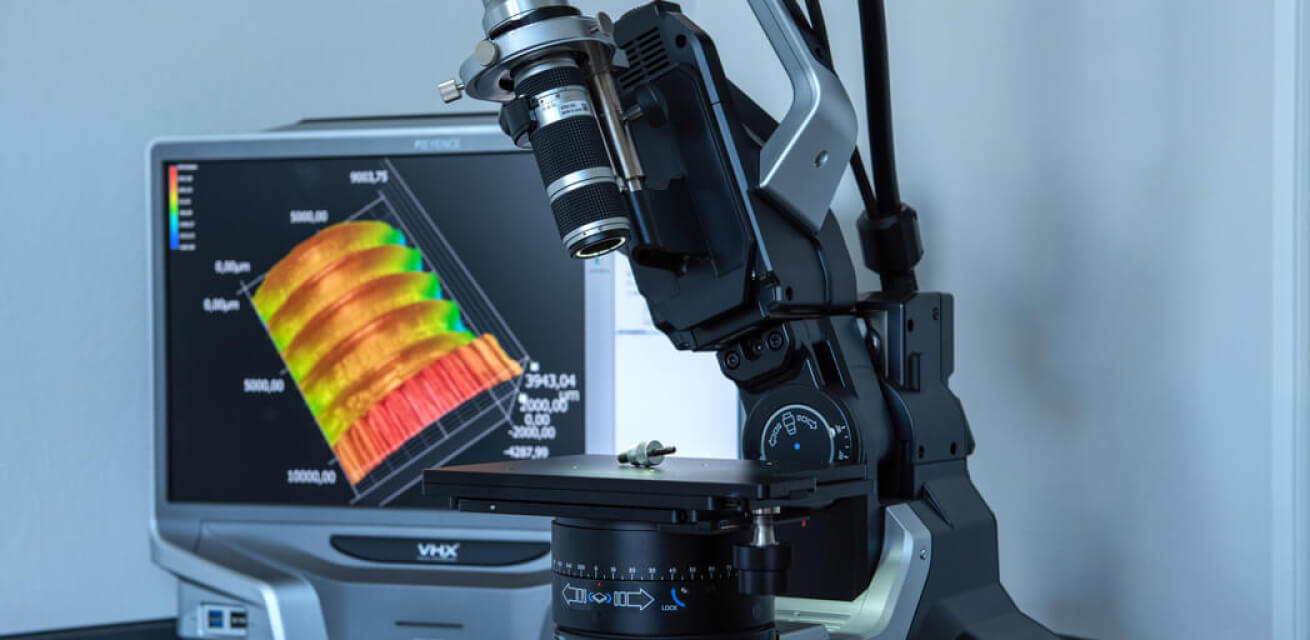
According to the general principles of DIN 13018, visual inspection can be subdivided into direct and indirect inspection procedures. The decisive difference is whether the inspection personnel check the product by eye – if necessary with the aid of a magnifying glass, microscope, endoscope, technoscope etc. – or via a monitor that displays the image from a camera, videoscope etc.
Alternatively, the visual inspection process can be described as analogue or digital. (The standard provides a much more scientific description involving the disruption, or non-disruption, of the optical path between the light source and the eye of the inspection personnel.)
For the customer, there is no notable difference between the two types of visual inspection, as they provide identical results, i.e. a product that is reliably identified as either flawed or approved. The type of procedure required has far more to do with the part to be inspected and the inspection requirements.

We often hear things like “Manual visual inspections are only carried out by people, and people can fail to spot defects.” Is there really a danger that errors can slip through unnoticed, as some statistics suggest? No. Well, not at Technomix anyway. While the criticism is valid, we can counter it in two ways:
Employment requirements for Technomix inspection personnel
→ Concentration and performance test
→ Trial work
→ 4-6 weeks of induction and qualification with allocated mentor
→ Approval process for every product to be inspected
→ Regular eye tests with optician
→ Regular validation tests
Technomix is regularly enlisted by companies, predominantly from the automobile and aerospace industries, that want to ensure that their customers receive only flawless products. Visual inspection is just part of our extensive range of services. Tell us what you require today and become one of the many satisfied customers who trust in the extraordinary levels of precision and reliable appraisals of our highly qualified inspection personnel.